A damp crawlspace rarely stays a crawlspace-only problem. Moisture rising from exposed soil can feed mold, rot floor framing, attract pests, and leave the rooms above feeling cold, humid, or uneven. The best vapor barriers reduce that moisture source at the ground, but the right material and installation method depend on what is actually happening beneath your home.
For homeowners in Virginia and Maryland, where humid summers, seasonal rain, and clay-heavy soils can all contribute to crawlspace moisture, a thin sheet of plastic tossed over the dirt is not always a permanent answer. A vapor barrier works best as part of a complete moisture-control plan that addresses standing water, exterior drainage, foundation leaks, and the condition of the wood framing.
What a Vapor Barrier Actually Does
A crawlspace vapor barrier is a durable polyethylene liner installed over exposed earth. Its job is to slow water vapor from moving out of the soil and into the crawlspace air. That matters because even a crawlspace that never floods can hold enough ground moisture to create condensation, musty odors, elevated humidity, and long-term damage to joists, beams, and subflooring.
A vapor barrier does not stop liquid water entering through a foundation wall, overflowing gutters, a failed sump system, or poor grading outside. It also cannot repair wood that has already rotted or framing that has begun to sag. When those conditions exist, covering the soil without correcting the source can hide a serious problem rather than solve it.
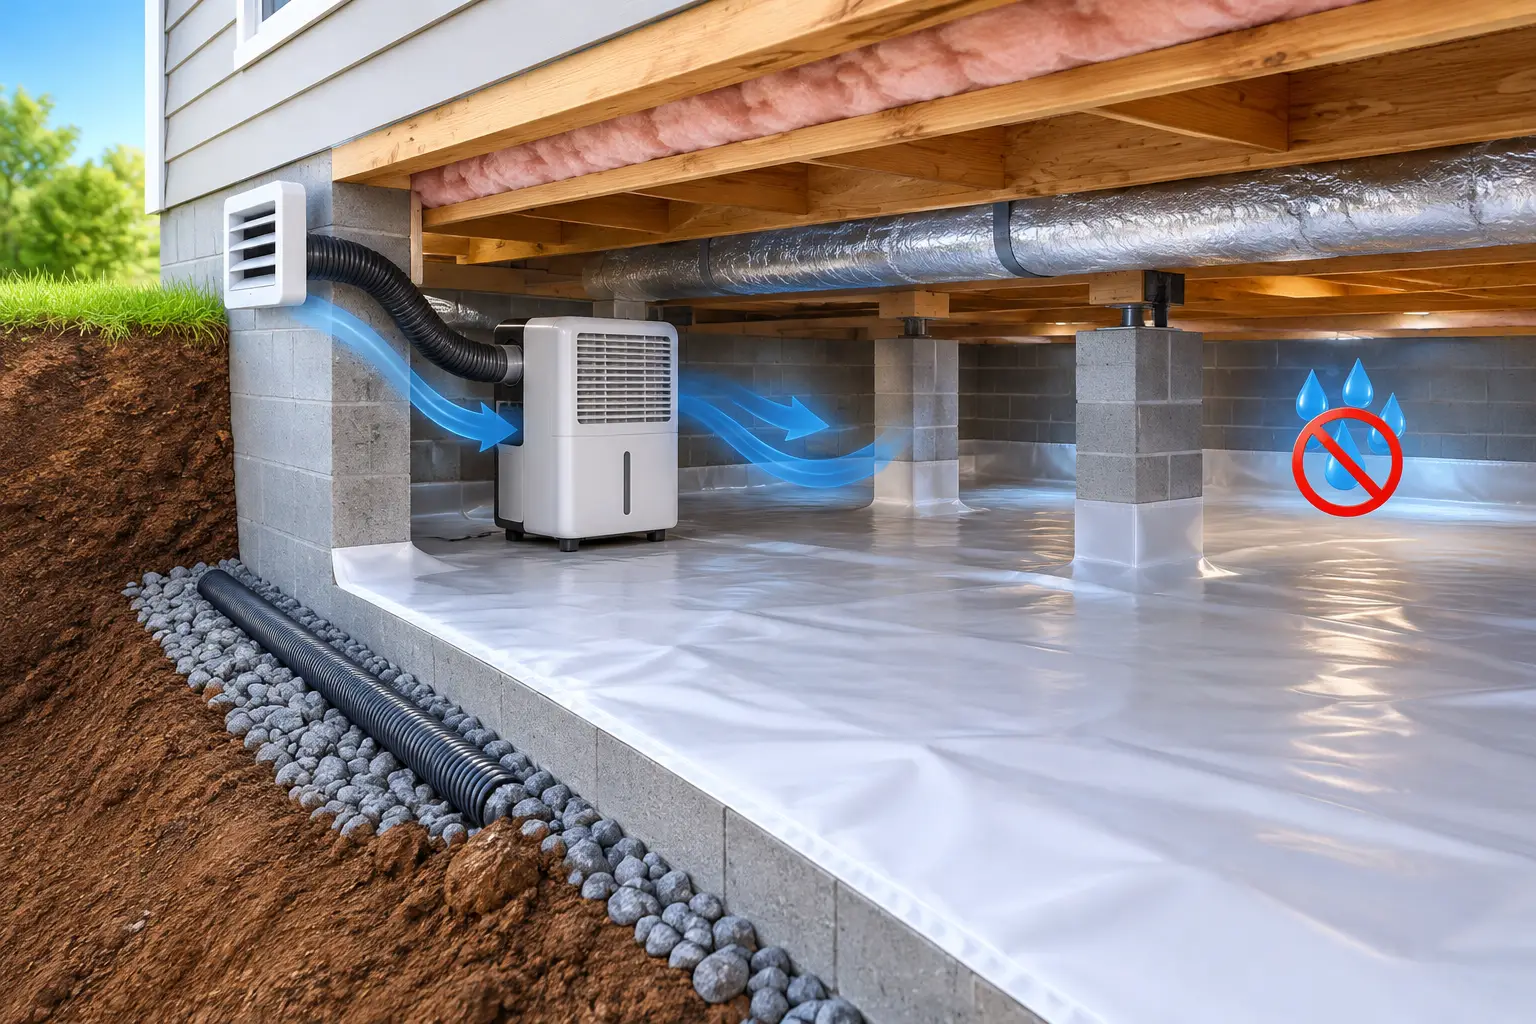
The material is only one part of the equation. Seams must be overlapped and sealed, the liner needs to extend far enough to cover the ground fully, and penetrations around posts and pipes require careful detailing. In a properly encapsulated crawlspace, the liner may also be sealed to the walls and columns to create a more controlled environment.
Best Vapor Barriers: Thickness Matters
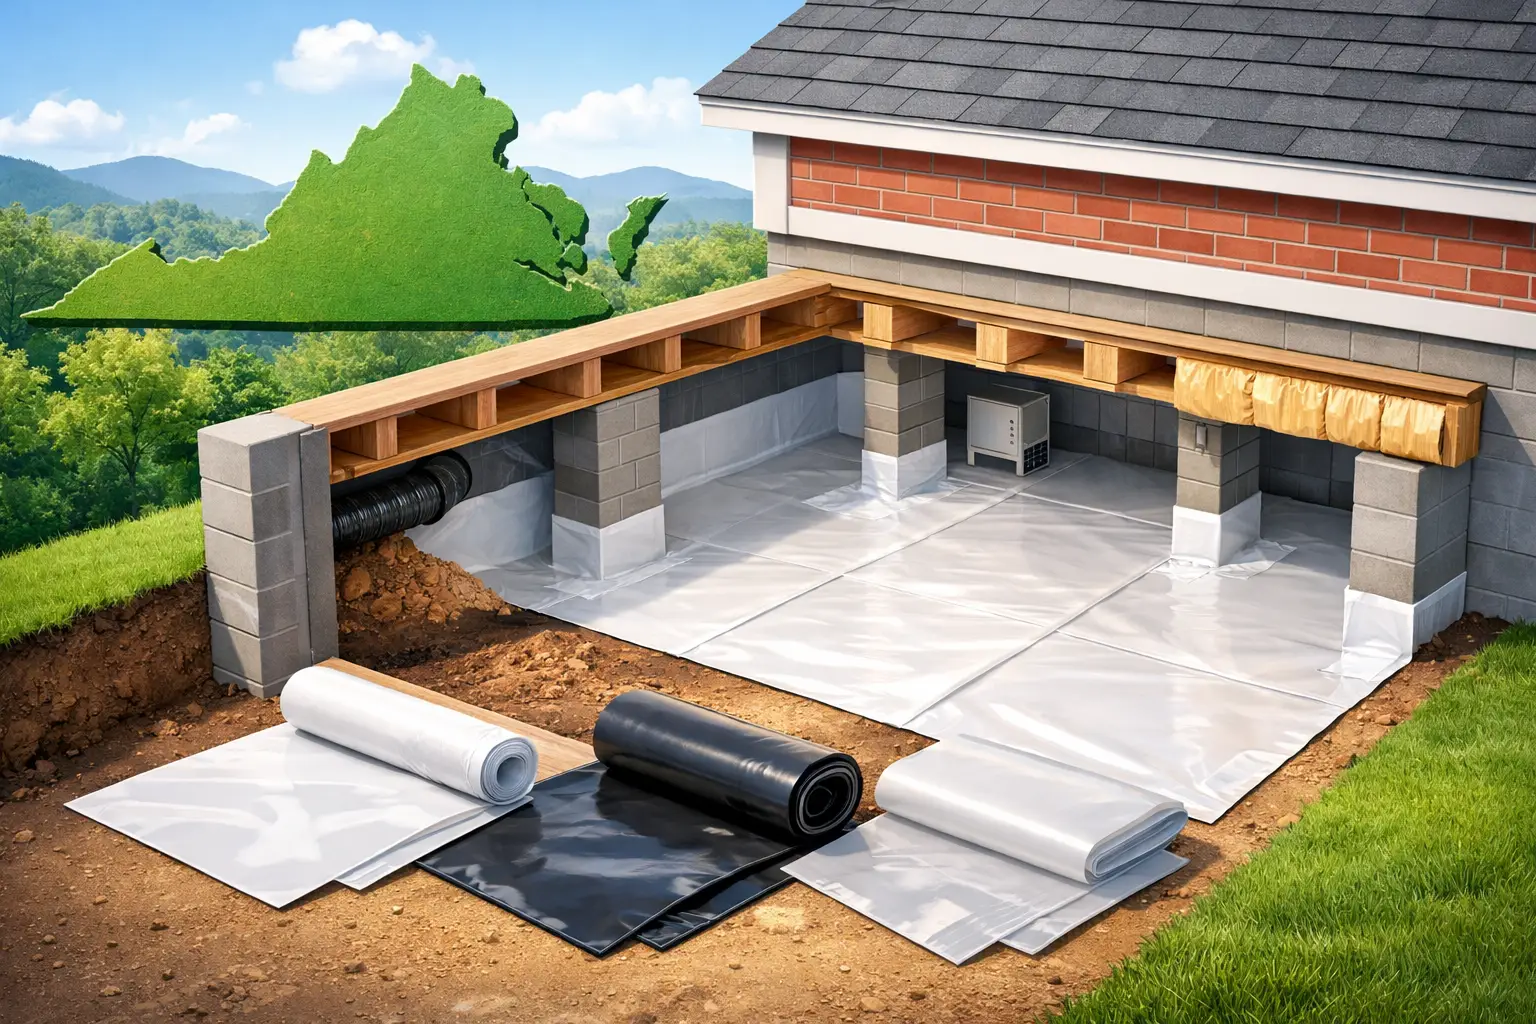
Polyethylene vapor barriers are often described by thickness, measured in mils. One mil equals one-thousandth of an inch. A thicker liner generally resists punctures and tears better, but thicker is not automatically better for every home.
6-mil polyethylene
Six-mil plastic is the common entry-level option. It can reduce ground moisture in a relatively dry crawlspace with limited foot traffic and no sharp rocks, construction debris, or frequent service needs. It is also the material many homeowners picture when they hear “vapor barrier.”
Its weakness is durability. Thin plastic can tear while being installed, break down under repeated traffic, or develop gaps around supports and mechanical equipment. If it is punctured or left loose at seams, humid soil air can still enter the crawlspace. For a long-term moisture-control project, 6-mil material is often not the strongest choice.
10- to 12-mil reinforced liners
For many crawlspaces, a 10- or 12-mil reinforced liner offers a practical balance between durability and cost. It holds up better during installation, resists punctures more effectively, and is less likely to be damaged when someone needs access for maintenance.
This range is often appropriate when the crawlspace has uneven ground, a few obstacles, or occasional service traffic. Reinforcement can improve tear resistance, but homeowners should not assume every liner with a stated thickness performs the same way. Product quality, seam sealing, and professional installation all affect results.
15- to 20-mil encapsulation liners
A 15- to 20-mil liner is generally the better choice for a crawlspace intended to remain dry, accessible, and protected for the long haul. These heavy-duty barriers are designed for tougher conditions, including rough soil, frequent access, and homes with a history of moisture exposure.
In a full crawlspace encapsulation system, a thicker liner can be run across the floor, up foundation walls, and around piers. When properly sealed, it helps separate the home from damp soil air more completely than a basic ground cover. The upfront investment is higher, but it may be the more cost-effective route when compared with repeated replacement of torn plastic or repairs to moisture-damaged framing.
The Best Vapor Barrier Depends on the Crawlspace Condition
Choosing a liner by thickness alone misses the larger issue: why is the crawlspace damp in the first place? A dry-looking crawlspace can still have high humidity, while a visibly wet crawlspace may have an active drainage failure that must be corrected before the barrier goes down.
If you see standing water, wet foundation walls, water stains, or muddy soil after rain, start with water management. The home may need drainage improvements, a sump system, or waterproofing measures before encapsulation can perform as intended. Installing a vapor barrier over wet soil can reduce evaporation, but it will not remove the water.
If the concern is musty air, mold growth, rusted ductwork, or damp insulation, the next step is to assess humidity and airflow. Traditional vented crawlspaces can pull humid outdoor air inside during Virginia summers. When that humid air reaches cooler surfaces, condensation can form. In those situations, a sealed liner paired with a properly designed encapsulation approach can offer much better protection than a loose barrier alone.
Wood damage changes the scope as well. Soft floor joists, deteriorated beams, fungal growth, or sagging floors should be evaluated before cosmetic cleanup begins. Moisture may be the cause, but compromised framing needs a structural solution, not just a new liner on the ground.
Installation Details That Separate a Fix From a Cover-Up
Even the best material can fail if it is installed carelessly. The ground should be cleared of sharp debris that could puncture the liner. The barrier needs continuous coverage, with overlaps wide enough to be securely sealed. Gaps around piers, plumbing lines, and other penetrations should be addressed rather than ignored.
Wall attachment is another key decision. A simple vapor barrier usually lies on the ground. A true encapsulation liner is commonly extended up the crawlspace walls and sealed in place. This approach reduces moisture transfer from both the soil and foundation surfaces, but it requires clean, sound wall conditions and proper attention to drainage.
Do not trap untreated moldy insulation, rotted wood, or an active leak behind a liner. Those problems do not improve because they are less visible. A permanent repair starts with identifying the source of moisture, correcting it, and then protecting the crawlspace with materials built for the conditions.
Warning Signs Your Crawlspace Needs More Than Plastic
A vapor barrier may be part of the answer, but these warning signs justify a professional crawlspace inspection: persistent musty odors, visible mold, standing water, damp or fallen insulation, rusting metal components, soft or sagging floors, sticking doors, and wood that feels soft or looks darkened.
These symptoms can overlap. For example, a sagging floor may result from weakened joists, an undersized beam, settlement, or prolonged moisture damage. Treating it as only a humidity issue can delay the structural repair your home needs.
Foundation Works evaluates crawlspaces with the full system in mind: soil moisture, drainage, foundation walls, framing, and the floor system above. That engineering-based approach helps distinguish a simple liner upgrade from a condition that requires waterproofing, structural restoration, or both.
Protect the Space Below Your Home Before Damage Spreads
The right vapor barrier should make your crawlspace cleaner, drier, and easier to maintain, not merely make a moisture problem less visible. For a dry crawlspace with mild soil moisture, a properly installed reinforced liner may be enough. For a crawlspace with recurring humidity, damaged insulation, active leaks, or failing wood, a more complete solution is usually the wiser investment.
If you have noticed dampness, odors, or changes in your floors, do not wait for the damage to become expensive and widespread. A professional inspection can identify whether a vapor barrier is the fix, one part of the fix, or not the first repair your crawlspace needs.